Mastering Natural Light for Product Photography in Sydney
Table Of Contents
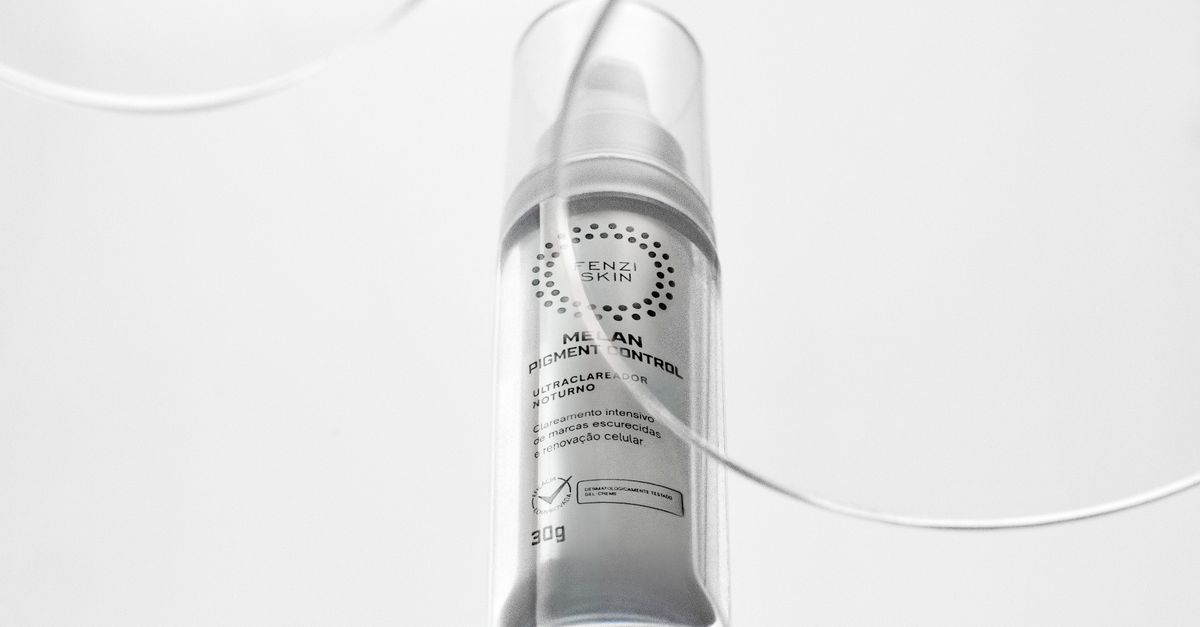
Styling Products for Natural Light Photography
Product styling plays a crucial role in showcasing items effectively in natural light. A clean, uncluttered background enhances the product's features while preventing distractions. Selecting a backdrop that complements the item can help create a harmonious look. Neutral tones often work best, allowing colours and textures to shine.
Arranging products strategically can make a significant difference in how they interact with natural light. Positioning items at varying angles can create interesting shadows and highlights, adding depth to your shots. Incorporating props that resonate with the theme can further elevate the composition without overpowering the product itself. Exploring different textures and materials in the arrangement can also capture the essence of the product in a compelling way.
Tips for Arranging Products to Enhance Light Quality
Arranging products thoughtfully can significantly impact light quality in your photographs. Consider using natural reflections. Positioning reflective surfaces, such as mirrors or glossy materials, can help bounce light onto your product. This technique creates highlights and adds depth, resulting in more dynamic images. Additionally, incorporating light-coloured fabrics or surfaces underneath your products can diffuse harsh light, softening shadows and creating a more pleasing overall look.
Finding the right angle is essential for optimising light quality. Experiment with different positions to discover how light interacts with each product. Sometimes, a slight tilt or rotation can significantly influence the appearance, revealing textures and details that might otherwise go unnoticed. Use tri-fold boards or white sheets to create a controlled environment that minimises distractions while enhancing the natural light. This setup can facilitate a well-lit composition that showcases your product in the best possible way.
Overcoming Challenging Lighting Conditions
Natural light can be unpredictable, especially in a city like Sydney where weather can change rapidly. Photographers often face challenges such as harsh sunlight or overcast days that can impact the quality of their images. To combat these issues, consider scouting locations at different times of the day. Early mornings or late afternoons typically offer softer light, reducing the chances of glare and unwanted shadows. Experimenting with different angles can also help to find the best natural illumination for your products.
Some conditions, like direct midday sun, can create stark shadows that don’t flatter the subject. Using reflectors can aid in bouncing light back onto the product, filling in shadows effectively. If it's cloudy, although the light may seem flat, this can provide a consistent and diffused illumination that highlights details without harsh contrasts. Embracing these variations can lead to unique and compelling images that capture the essence of the product in its environment.
Techniques for Dealing with Harsh Shadows and Glare
When faced with harsh shadows, adjusting the product's placement can significantly improve the overall lighting. Positioning the item closer to the light source often softens the shadows by allowing more light to wrap around it. Additionally, incorporating reflectors can help redirect light back onto the subject, minimising dark spots and enhancing image clarity. Using white or metallic surfaces can create a natural bounce effect, ensuring your product remains the focal point.
Dealing with glare requires thoughtful manipulation of light sources and angles. One effective strategy is to use diffusion materials, such as softboxes or sheer curtains, to soften the light and reduce harsh reflections. Alternatively, slightly tilting the product or changing the camera's angle can help mitigate unwanted shine. Experimentation with different settings may yield optimal results, leading to a well-balanced photo that showcases the product attractively without overwhelming glare.
Editing Techniques to Enhance Natural Light
Post-processing plays a key role in bringing out the beauty of natural light in product photography. Start by adjusting the exposure to ensure the image captures the essence of the light's qualities. Lift shadows gently to reveal details that may have been lost during the shoot, particularly in areas that need more dimension. Fine-tuning the contrast can also help achieve a more vibrant look, enhancing the interplay between light and texture.
Colour correction is crucial when working with natural light, as it often varies depending on the time of day and environmental factors. Use tools like white balance adjustments to keep the colours true to life. Increasing saturation slightly can make your products pop without overwhelming the image. Sharpening the details gives a crisp finish, highlighting the unique features of each item. Always keep a subtle touch, maintaining an authentic feel that reflects the original lighting conditions.
Post-Processing Tips for Perfecting Your Shots
After capturing your images, the first step in post-processing involves adjusting the exposure and contrast. Often, natural light can result in images that lack the desired punch. Increasing contrast can help to make colours pop and enhance the overall vibrancy. Use tools such as sliders for highlights and shadows to ensure that the product remains well-defined without losing detail.
Another essential aspect is colour correction. Lighting conditions may skew colours, so it’s crucial to adjust the white balance for accuracy. Employing a colour grading tool can also help to create a cohesive look across your images. Fine-tuning the saturation can enhance the natural hues of your product while maintaining a realistic representation.
FAQS
What is the best time of day for natural light product photography in Sydney?
The golden hour, just after sunrise and before sunset, is ideal for natural light product photography as it provides soft, warm lighting that enhances the quality of your images.
How can I avoid harsh shadows when shooting in natural light?
To minimise harsh shadows, try shooting on overcast days when the light is diffused, or use a reflector to bounce light onto the product. Position your products wisely to take advantage of natural light sources without creating direct shadows.
Are there specific locations in Sydney that are better for natural light photography?
Yes, locations with ample natural light, such as open parks, beaches, or cafes with large windows, can provide excellent conditions for product photography. Look for spaces that offer soft, indirect light to enhance your images.
What editing techniques can I use to improve my product photos taken in natural light?
Common editing techniques include adjusting exposure and contrast, enhancing colour balance, and sharpening images. Software like Adobe Lightroom or Photoshop can be particularly useful for refining your shots.
How do I style my products to make the most of natural light?
Arrange your products with clean backgrounds, use props that complement the items, and consider the angle of light when positioning everything to create dynamic and appealing compositions. Experimenting with different layouts can yield stunning results.
Related Links
Understanding the Importance of Light Direction in Product PhotographyStrategies for Achieving Consistent Lighting Across Multiple Products
Using Colour Temperature to Influence Product Perception
Creative Use of Artificial Lighting in Product Shoots
Best Practices for Using Softboxes in Product Photography
Techniques for Balancing Ambient and Studio Lighting
Harnessing the Power of Reflectors for Enhancing Product Images
Advanced Lighting Techniques for High-End Product Photography